Soil sampling is a basic technique of mineral exploration. Cheaper than drilling, sampling can be used to quickly establish the existence and extent of hoped for mineralisation.
Initial geophysical and other remote sensing methods are used to target a geological structure which may contain mineralisation. Soil sampling can either stop a project dead in its tracks, or give the green light for further expenditure including drilling.
Why Is Soil Sampling Important?
Soil sampling is undertaken to define the location and shape of an obscured mineralised structure and to identify any higher grade sections within the structure. A successful soil sampling program will result in accurate drill-hole targeting. Many structures are not mineralised to the same degree along their length. A great deal of money can be wasted drilling along a geophysical anomaly only to realise later that the highest grade zones are confined to narrow steeply plunging zones in the plane of the structure.
All too often, drilling doesn’t intersect any of these zones and the prospect is subsequently abandoned or relinquished. Opportunities are missed because a thorough chip and soil sampling programme was not undertaken.
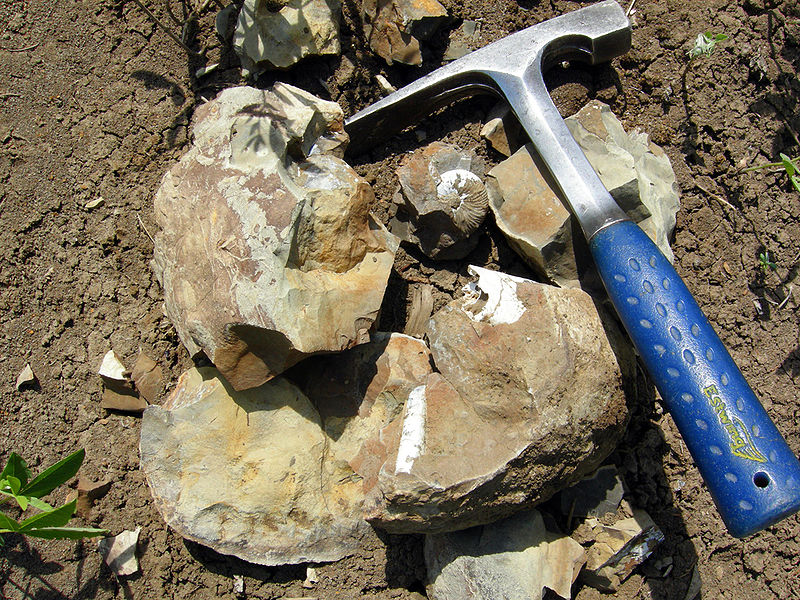
Rock Chip Sampling
Rock chip sampling is sampling of exposed potentially mineral-bearing rocks. Chips are taken during initial mapping, and if promising results are returned, a subsequent soil sampling survey undertaken. Alternatively, in many cases, outcrops maybe either minor or non-existent, and soil sampling is a key next step for an exploration programme.
Designing A Soil Sampling Programme
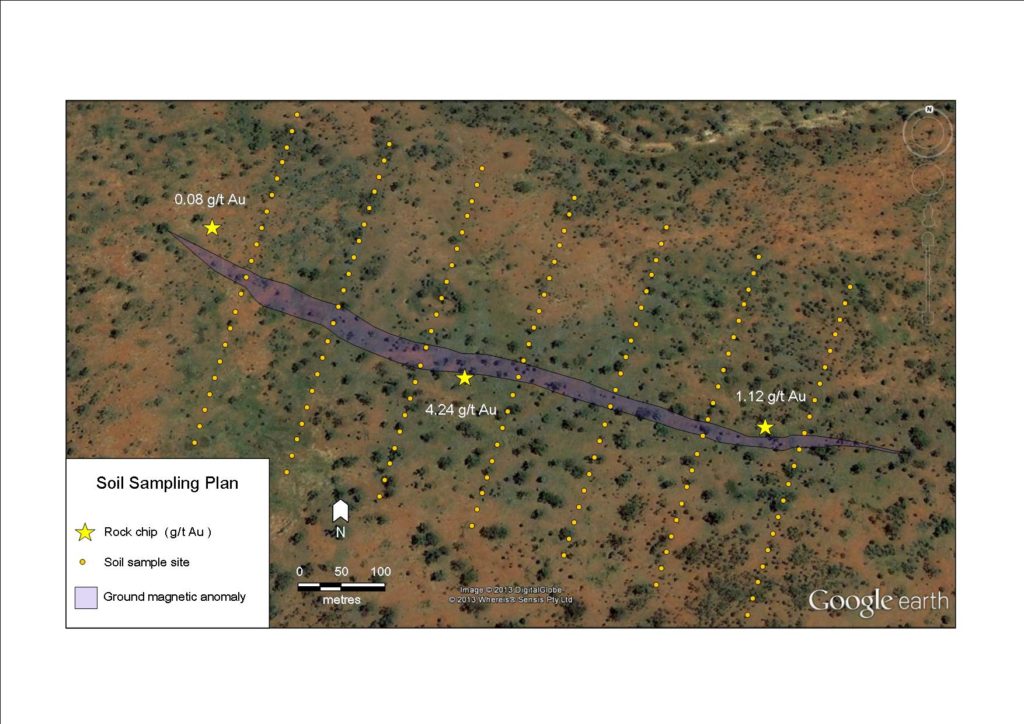
A soil sampling programme must be designed to ensure that it tests the structure which is causing the geophysical anomaly. In the example below, the plan consists of seven lines each separated by 120m. These lines cross, at right angles, the structure that was identified using a ground magnetic survey. Each sampling site along the lines is spaced 20m apart, a total of 147 samples. Surface rock chips may provide evidence as to where the high grade zones lie along the structure. The geologist take these into account when planning the soil sampling programme. When the geologist is happy with the plan, the sample points are entered into a GPS in readiness for the survey.
Taking Soil Samples
Soil sampling is a lot easier now that a GPS is standard equipment, so the uncertainly of where the actual sample comes from is minimised. The team uses the coordinates that were entered into the GPS to locate each site. Normally, this can be done to an accuracy of ± 5m, which is the typical accuracy of a hand-held GPS.
Soil Sample with Friends
Soil sampling is normally done with a minimum of two people: a geologist and a field assistant. This is not only for getting the work done more quickly, but for safety reasons too. As with any work in remote areas emergencies can happen when least expected, which can lead to life threatening situations. Once while soil sampling, my assistant had an asthma attack triggered by fungal spores in a particular soil sample. The fungus had apparently grown on sheep dung. Fortunately, her medication wasn’t too far away in the truck and she recovered quickly. The moral of the story here is to be prepared at all times.
No Jewellery Please, We’re Soil Sampling!
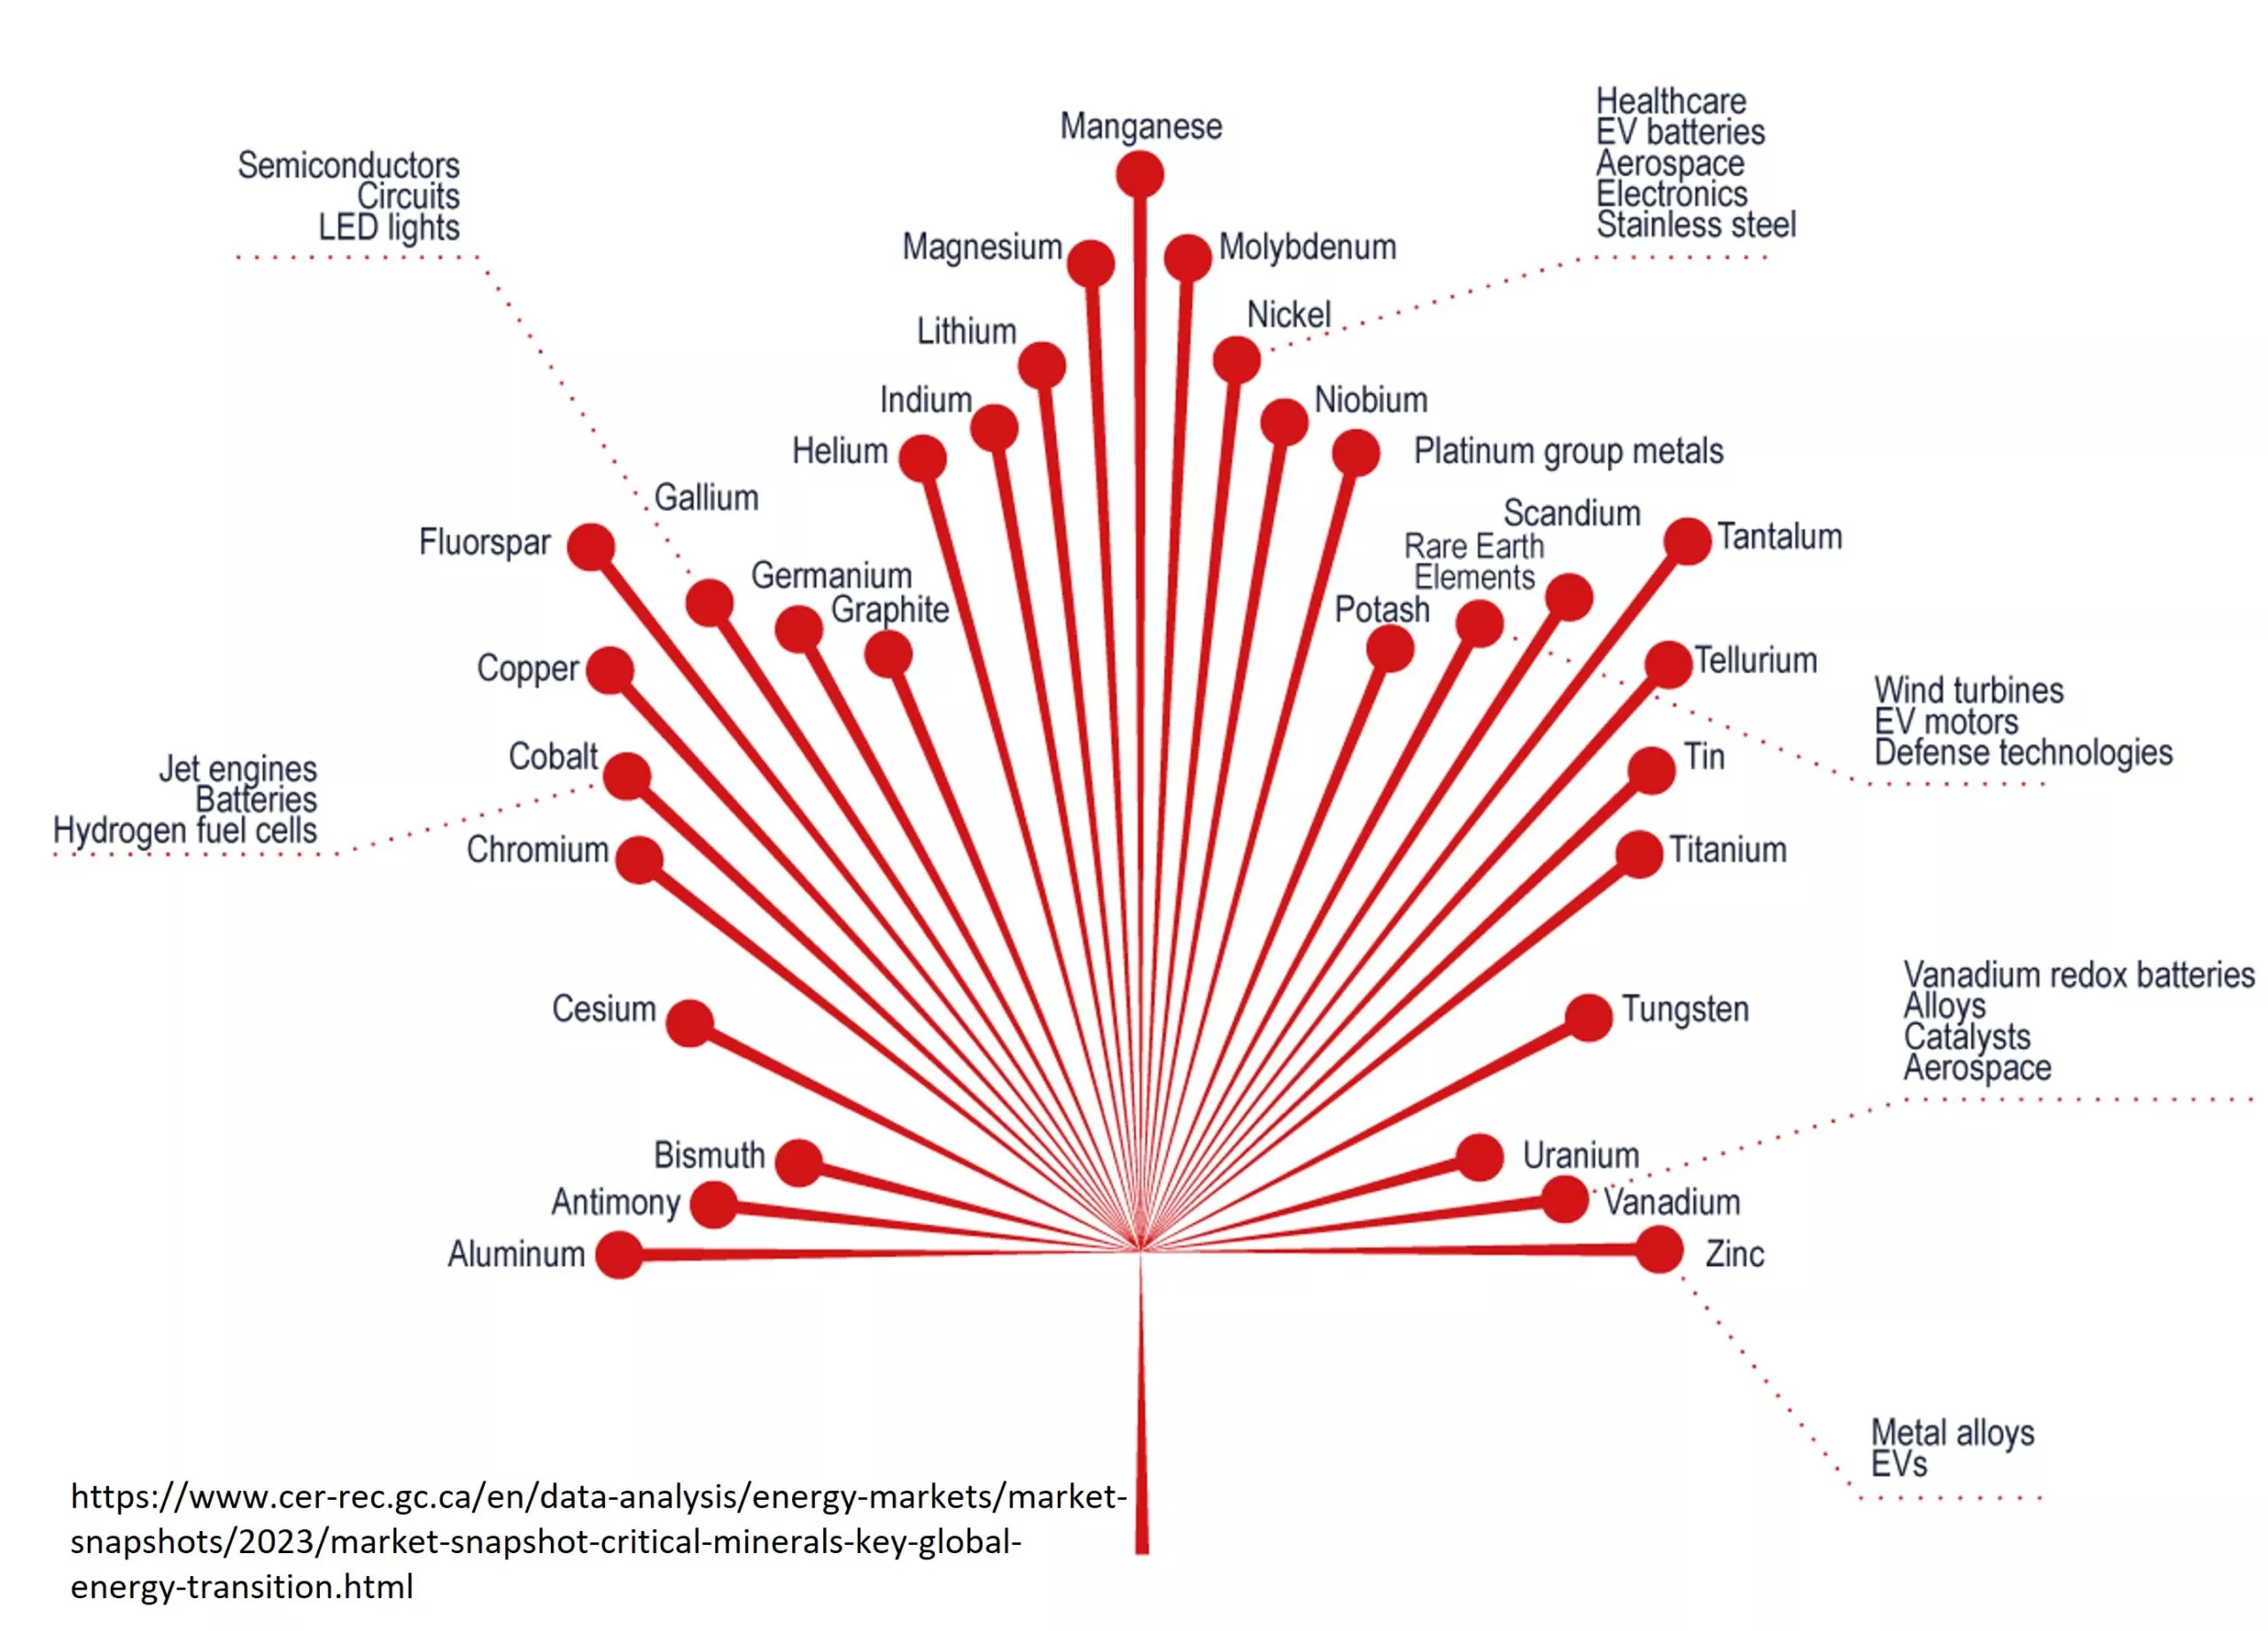
All jewellery such as rings, bracelets and necklaces must be removed by those directly involved in collecting and handling the samples. This eliminates any chance of jewellery coming into contact with a sample and contaminating it. Gold and silver are obviously a risk, but I once knew a company that got excited by a “palladium anomaly” which was later found out to be caused by the sampler wearing a platinum ring. Both platinum and palladium commonly exist together as they both belong to a group known as the platinum group metals (PGM).
Another source of contamination can come for the sampling equipment itself, such as lead-silver solder used to attach the mesh to the outer ring in some sieves and chromium from stainless steel picks and shovels. Even the type of sunscreen used by the samplers must be considered, as zinc based creams can contaminate samples from sweat off the skin.
Local Site Contamination
Sometimes, the actual location of the sample site can cause problems too. Some wood preservatives used in fence posts can contaminate the soil and hence nearby samples with chromium and arsenic. Corrugated galvanised iron in close proximity to sample sites can result in elevated zinc levels. The possibilities for contamination are numerous, so one must always be on the lookout for potential sources.
Start At The Most Interesting Line
The first line that is sampled is usually the one with the highest probability of encountering a soil anomaly. The reason for doing the “best” lines first is so that if the sampling cannot be completed for any reason, e.g. bad weather or a twisted ankle, then it is not so much of a great loss.
XRF Spectrometry
Another way of saving time and money on a sampling programme is to use a hand-held X-ray fluorescence (XRF) spectrometer on each sample as they are being collected. This quickly gives the geologist an idea as to whether or not a geochemical anomaly is being detected during the programme. By using the instrument in the field, the sampling programme can be modified as it proceeds. Soil lines can be dropped while others can be added to infill the survey. If a geochemical anomaly is suspected the spacing between sites can be done reduced, say from 20m to 10m.
How To Take A Soil Sample
In country where the soil cover is quite thin, a sample is obtained by digging a small hole with a long handled pick, usually down to weathered rock. The sample is then placed into the top sieve with a small garden spade. This coarsest sieve removes organic matter such as leaf litter and charcoal as well as coarse sand and gravel.
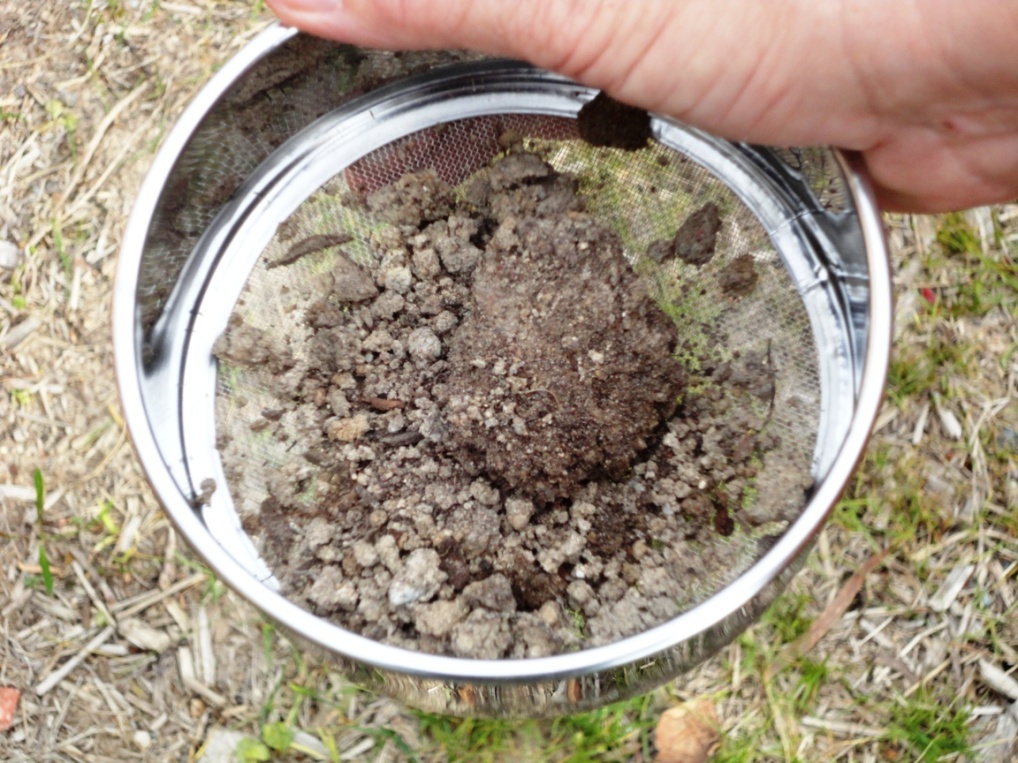
The sample is sieved on-site using a 80 mesh sieve, 178 micrometres, using a stack of sieves with progressively finer mesh sizes. This ensures that the finer clay and silt size particles are concentrated as this is the particle size range which contains the highest concentration of common indicator elements such as copper, lead, zinc and arsenic.
Sieving also removes coarse quartz grains which may have coarse or nuggetty gold attached. At first, this may seem like an odd thing to do removing the coarse gold from the sample. The reason why it is done is so that the resultant geochemical data has a smooth gradient and doesn’t contain spikes in the data or unusually high values which can be difficult to map and contour.
In contrast in areas where deep moist soils exist, a hand soil auger is usually used to obtain soil samples. Hand augering down to a depth of a metre or more is sometimes necessary to obtain a sample from the top of the weathered rock. Soil samples by this method are almost always moist or wet, so sieving is not possible. Mud tends to stick to the sampling equipment so a nylon brush is used to clean most of the dirt and mud off before the next sample is collected. Otherwise, cross-contamination can occur. Wet samples are placed in plastic bags and submitted to the laboratory as is. The laboratory then does the drying and sieving required prior to analysis.
Which Sample Was That?
Sample numbering using a foolproof method is extremely important. Due to the large number of samples taken during a soil survey, great confusion can occur if numbering is not systematic. One of the best methods is to use a pre-numbered ticket book. At each site the coordinates are entered into the ticket book, the number is written on the outside of the sample bag with a permanent marker and the duplicate ticket is torn out of the book and placed in the bag with the soil.
Sample Analysis
Before samples are submitted to the laboratory the geologist determines the suite of elements to be analysed and what the detection limit should be. As labs charge more for lower detection limits, budgets come into play with both the suite of elements analysed and the methods used.